SOFTWARE USER GUIDE
Room Overview
Click the corresponding number icon to jump to its section.
Status Card
Recipe Card
Zone Overview
Rooms List
1.  Status Card
Room Title.  Your room's name is displayed here. You can change this by going to Rhythm Logo > Configuration > ROOM # > Change the title from here by clicking directly on the name box. Max 3 characters.
Room Details.  You can set up your room’s Sunset (lights off), Sunrise (lights on), and plant numbers in ROOM CONFIGURATION settings. Rhythm needs this information to operate schedules correctly. The "Week" and "Day" settings can only be changed by going to the FEED SCHEDULER.
Room Gauge.  This displays the week's progression and lighting/watering status.
Gauge in
week 2
Gauge in
week 7
Lights in room are currently ON.
Room is currently WATERING.
Feed Report.  Check all the details of every previous feed in the room up to one week ago.
Some of the data that will display on your feed report is whether or not the feed was scheduled or manual, what time the feed happened, what week the room was in, the volume watered, the final pH/EC/temperature values delivered, and the flow rates and volumes per each zone.
Sometimes an error page will display. This means either 1) nothing was fed or 2) there is an internal service error.
Hold Function.  Press this to indefinitely HOLD your room's schedules. While this is active, the room WILL NOT feed and scheduled recipes will be SKIPPED altogether.
• Red icon means HOLD is ACTIVE.
Important
HOLD will not reset on the next calendar day. You must manually deselect it to resume feeding. HOLD will also NOT stop rooms from feeding that have already entered the Dashboard Queue. Read more about DASHBOARD here.
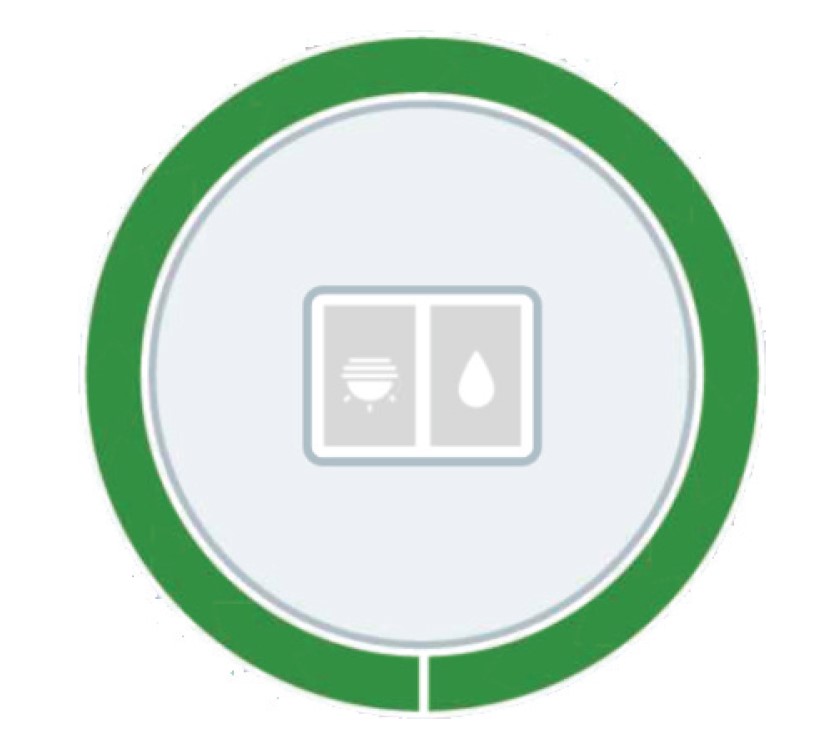
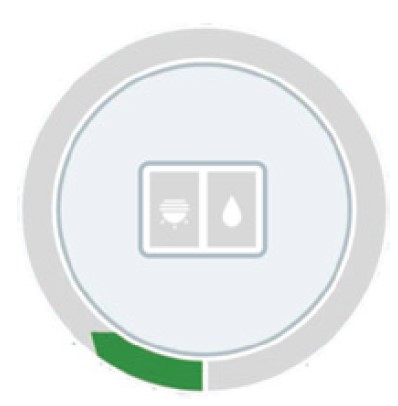
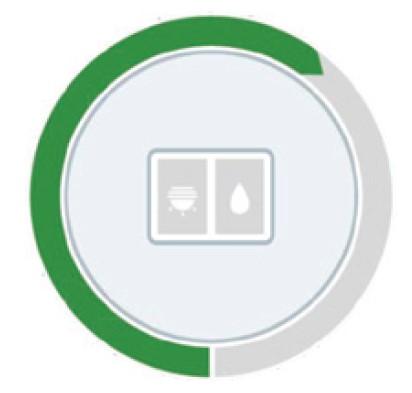
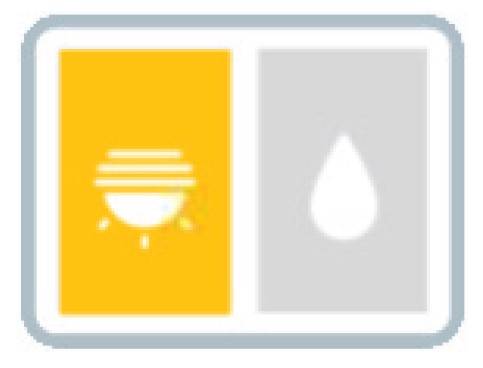
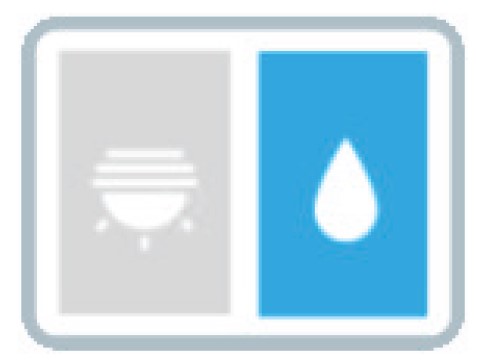
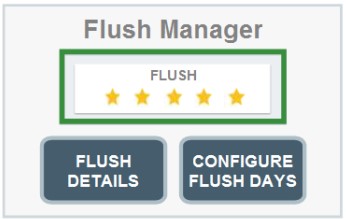
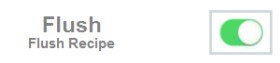
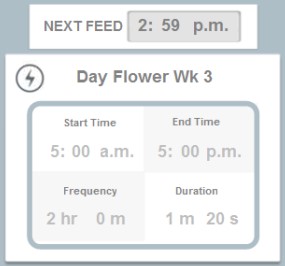
Flush Indicator.  When this is active, your designated FLUSH recipe will override the regular room schedule. This is only an indicator, not a button. You must activate flush feed in Feed Manager using "Configure Flush Days" or via FEEDING ON DEMAND using "Flush" toggle:
The green outline on the inserted recipe on the "Feed Manager" page means this recipe is ACTIVE.
The green toggle button in "Feeding On Demand" means flush is ACTIVE.
• Blue icon means FLUSH is ACTIVE.
Moisture Sensors.  This button will only appear if you have moisture sensors incorporated into your system. Clicking on it will show you an overview of your sensors and the room averages.
Each card will show your sensors (the quantity varies per customer). You can enable or disable them by clicking on the upper left hand toggle. Each card will display:
Current Readings: Live readings of moisture content/saturation level, EC and temperature.
Dry Back Period: Max is the most saturated the media got (by sunset), Min is the minimum (starting at sunrise), and Dry Back is the difference.
Sunrise/Sunset: This will display the max and mins with a time stamp.
Click the "Select Type" button to bring up a popup which allow you to select your media type and size. This is important because some rockwool have different wicking qualities to them depending on manufacturer/size.
2.  Recipe Card
Recipe Card.  Press/click this card to reveal the room specific FEED MANAGER.
This image will appear if you are running loop feeds in the room. It is a quick glance at the schedule.
If you are running scheduled feeds, the Feed Cycles will appear, or this card may be absent altogether.
Lightning Bolt.  When this appears, the room is currently automated to feed the loop recipe that you scheduled. THIS IS ONLY ACTIVE FOR LOOP FEEDS, scheduled feeds will not display a lightning bolt.
Important
For Loop Feeds Only:  If you EDIT A RECIPE while it is IN CYCLE (i.e while the lightning bolt is active), the lightning bolt will disappear and the room WILL NOT FEED the rest of the day. To avoid this, when editing the recipe, you will need to change the recipe's START TIME to something AFTER the current time. This will still remove the lightning bolt, but once the start time has passed (see "Next Feed" to confirm this), the lightning bolt will appear again and the room will continue feeding with your new settings. If you edit from the "Feeding Override" box in FEED MANAGER, your new start time will only be active for today and will revert to your original time on the next sunset.

Scenario: It is 12:00pm and your room's "Next Feed" is set to 12:30pm. You'd like to change this so that the room will feed next at 1:00pm instead. Press the recipe card and under "Feeding Override," change the frequency to 1 hour instead of 30 minutes and change the "Start Time" to something AFTER now, in this case, 12:02pm. Based on your new frequency, the next feed will commence at 1:02pm.
Next Feed.  The time displayed here will be the next time the room will feed. This only appears above the card if it is a LOOP FEED type. For scheduled feeds, you will know the next feed time by looking inside the card at the Feed Cycle information.
3.  Zone Overview
Zone Card.   All the zones located within your room level will appear here as cards.
• Green checkmark is an indicator that this zone is ENABLED. To enable zones, click on Rhythm Logo > Configuration > ROOM # > Enable/Disable Zones
Green outline means the zone is ENABLED and will feed. Click on each zone square to disable it if needed.
• The green leaves icon is an indicator that the solenoid for this zone is OPEN and feeding.
4.  Rooms List
Room List.  All your rooms will be listed here and you can navigate to each room by clicking the corresponding circle. Change the name of your room by going to Rhythm Logo > Configuration > ROOM # > Change name by directly pressing on the title box. Maximum 3 characters.
Note: For Multi-Batch systems, text will display above the rooms which will dictate whether the designated room is set to feed from mixing tank 1 or 2. These are assigned during the project buildout phase and cannot be changed without rerouting irrigation lines.